

We’ve all been there, you nervously start a video conference hoping that all your equipment works, praying that no one has snuck in and played around with your Tandberg settings in the dead of the night while you weren’t there. You dial the VMR number and ask the magic question… ‘Can you hear me ?!?!’, you hold your breath and never get a response….. booh…. you find yourself on the phone with the remote end for the next twenty minutes trying remove the gremlins that have crawled into your system rather than delivering the fantastic educational experience that you had so meticulously planned.
[pullquote align=”right” textalign=”center” width=”30%”]…you can always have a v/c without the picture, but you can’t have one without the sound![/pullquote]
Wouldn’t it be better if you could just start the video conference and everything just worked straight out of the gate ? There is a way to achieve this, and it can apply to setups of any size and any type and any organisation. I call it a ‘pre-flight check’.
The basic idea of a pre-flight check is to do technical checks on everything BEFORE you start the video conference. Granted most of us delivering video conferencing are not technical and very few of us have the luxury of having a technical person on standby to help with the set up. So it will pay you greatly to spend a few minutes before an event doing some basic checks on your equipment. Even if you know the state of your gear or your gear has not moved it is still a good idea to check everything is working just so you can eliminate your end as being the problem if an issue does crop up it’s ugly head during your event. Following is a checklist that has been implemented at the Powerhouse Museum, since we have started this process we have had very few technical problems and we have also found that our staff are more confident and know the equipment better as a result.
[important]
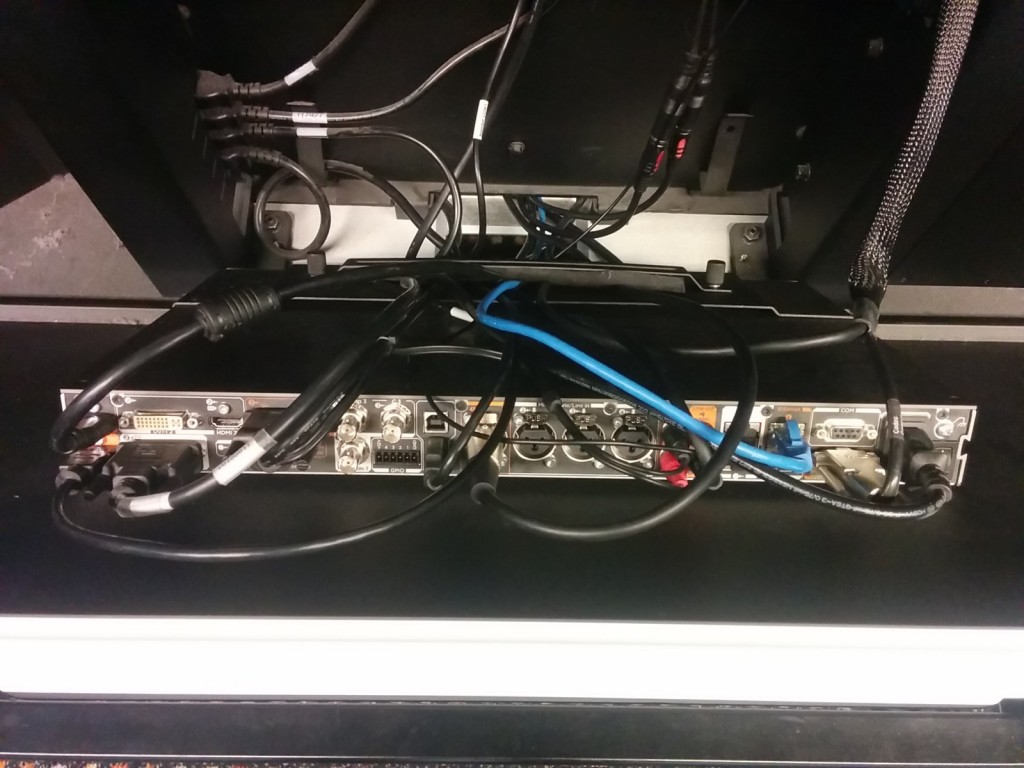
1. Check Your Network
Check that you have an IP address. On a Polycom unity The IP address is shown at the bottom of the display when the unit first boots up. On a Tandberg you will see the IP on the top left. An IP address has the form nnn.nnn.nnn.nnn, If you do not have or cannot see an IP address try switching to another network port or talk to your network administrator.
[/important]
[important]
2. Check Your Primary Camera
Check that the primary camera is plugged into the correct port and you are getting a loopback image on the screen.
[/important]
[important]
3. Check Your Secondary Camera
If you are using a secondary camera, switch over to it and check that you are getting a loopback image.
[/important]
[important]
4. Check Your PC
If you are planning to use content sharing from an external PC, then you MUST check that it is working beforehand. There are several things that can go wrong here! Make sure you are familiar with the ins and outs of switching your computer from mirrored or extended display modes and check that you have all the right sort of connectors available to connect to your v/c codec. Exactly how this done is something that I can save for another article….
[/important]
[important]
5. Lighting
This seems like an obvious one, but you should keep in mind that a camera does not perceive light exactly as the human eyes does and low light levels can translate into a fuzzy or graining looking image at the remote end. Conversely high light levels can cause the image to look grey or colourless. Critically review the lighting and check via camera loopback that the lighting is not too dark and not washed out. There should be a nice contrast between each half of the face and skin tones should look natural for onscreen talent.
[/important]
[important]
6. Make a Test Call
Once you have tested the above make a test call to another v/c unit, and test everything again from steps 1-5.
[/important]
[important]
7. Test the sound
Finally, while on the test call confirm that there is two way audio. The sound should be loud and clear and not distorted. Remember you can always have a v/c without the picture, but you can’t have one without the sound!
[/important]
Another good idea is to use a service like VTC Call Back (http://vtctest.pointsofdata.com/) Using this you can make a test call and it will call you back and check your video and audio is working.
Try to plan the time it takes to do this into your event schedule, I would recommend that you allow yourself at least 15 minutes for the basic checks written above, longer if you have a more complex setup. If you make a good habit of running through this before every event you will save yourself a lot of heartache in the long run.
Keep up the good work !
—
Stephen Bancroft is an an Electrical Engineer and Computing expert, he has over twenty years experience with internet based technologies and has worked extensively with live sound and broadcast. He is currently writing technical articles exclusively for VEA.